
July 6th, 2026
How to Apply Apres Bare Gel-X® Tips: Step-by-Step Guide for Natural-Looking Nails
If you’re looking to create flawless, natural-looking nail extensions, Apres Bare Gel-X® Tips are one of the easiest and most versatile systems to work with.
Whether you’re a beginner or a seasoned nail tech, mastering your Gel-X application is key to achieving long-lasting, lightweight, and seamless results.
In this step-by-step guide, you will see exactly how to apply Apres Bare Gel-X® Tips for a clean, natural finish—plus pro tips to help avoid lifting and improve retention.
Watch the Full Application Tutorial
What Makes Apres Bare Gel-X® Different?
Apres Bare Gel-X® Tips are designed to mimic the look and feel of natural nails with:
Unlike traditional acrylics, Apres Bare Gel-X is lighter, easier to soak off, and less aggressive on the natural nail when applied correctly.
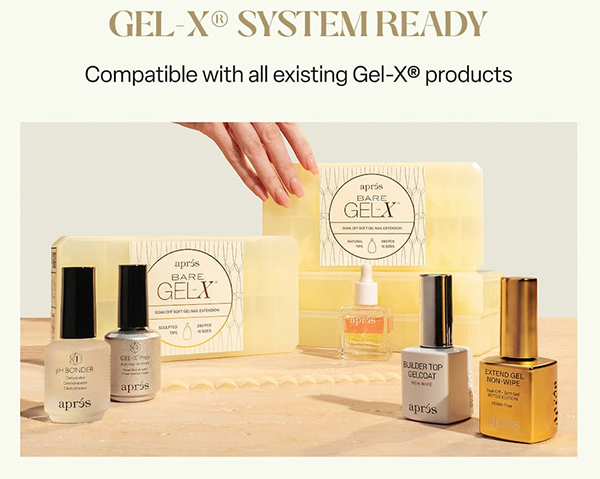
What You’ll Need
Before you start, make sure you have:
Proper prep and the right products are key to long-lasting retention.
Step-by-Step: How to Apply Bare Gel-X® Tips
Step 1: Prep the Natural Nail
This step is critical—proper prep helps prevent lifting and improves adhesion.
Step 2: Size Your Tips Correctly
A proper fit ensures comfort and reduces lifting over time.
Step 3: Etch the Tip
Think of this as creating grip for the product to bond securely.
Step 4: Apply Extend Gel
Avoid applying too much—less is more here to prevent bulk or lifting.
Step 5: Apply the Tip
Applying at an angle helps push out air and creates a seamless finish.
Step 6: Shape & Customize
One of the biggest advantages of Apres Bare Gel-X® is that you can fully customize the final look.
Step 7: Finish the Set
Pro Tips for a Flawless Application
Keep it natural
Bare Gel-X® works best when extensions are no more than half the natural nail length.
Avoid too much pressure
Pressing too hard can cause lifting or uneven application.
Use the right amount of gel
Too little = poor adhesion
Too much = flooding + mess
Practice your angle
The 45° angle technique is a game-changer for smooth, bubble-free application.
Common Mistakes to Avoid
Even small mistakes here can affect retention and overall look.
Why Nail Techs will Love Apres Bare Gel-X®
Apres Gel-X systems have become popular because they offer a balance between durability and a more natural feel compared to acrylics.


