How to fill Apres Gel-X tips

by Canada Nails August 27th, 2024
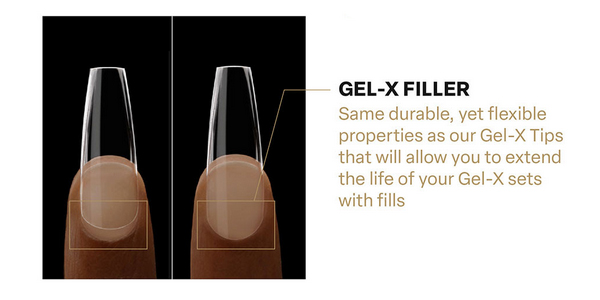
Watch to see how to use Après Soft Gel Builder to extend the life of your Après Gel-X set.
Watch to see how to use Après Soft Gel Builder to extend the life of your Après Gel-X set.
- Begin by filing of the topcoat and gel polish and some of the bulk of the Après Gel-X tip with and electric nail file using a 5 in 1 bit.
- File off any lifted product with the 5 in 1 bit, being sure not to file the natural nail as this will cause damage.
- Using a hand file the sidewalls to achieve the desired shape.
- Use a cuticle pusher to gently push back the cuticles, then using a cuticle bit clean up around the cuticles.
- Use a mandrel with a sanding band (Fine) to even out the surface of the Après Gel-X tip to create seamless flush look with the natural nail.
- Buff the tips with a 100/180 nail buffer to smooth the surface.
- Remove any dust and cleanse the nail with alcohol.
- Apply the Après PH Bonder to any natural nail exposed.
- Apply Après Non-Acidic Gel Primer to the natural nail.
- Apply Après Gel-X Prep to chemically etch the surface of the tip (Scrub in until the surface becomes tacky)
- Apply a thin layer of Après Soft Gel Builder, do not cure.
- Carefully float a bead of gel from side to side to fill in the growth, taking care to build back the apex to create a proper structure. Being careful not to get any gel on the cuticle. Using the line of site from an overhead to ensure the entire nail is evenly filled in with a smooth surface. Once achieved, Flash cure for 5 to 10 seconds. Repeat for all fingers.
- Once all nails have been complete Cure the entire hand for 60 seconds to 2 mins in a LED Lamp
Your Après Gel-X tips should now be filled and now you can finish them with Gel polish and Top Coat!
For more info on this please visit How to apply Après Gel-X Couleur Gel Polish


