
August 27th, 2024
A lot of folks who've been getting manicures regularly might never pick up the right way to file their natural nail free edge — it's pretty common. But, filing your nails isn’t just about saving a few bucks. Doing it right helps keep them strong, healthy, and less likely to snap on you.
Here’s the thing, though: if you go at your nails with a file like it's a saw, moving back and forth, you could actually be making them rougher and weaker. And overdoing the filing doesn’t help either—it can just lead to more damage.
But don't worry, it’s not as complicated as it sounds. In this guide, we'll cover everything from choosing the right file to the best techniques for a smooth finish. We’ll even throw in some pro tips to keep your nails looking their best between manicures.
So, let’s break down how to file your nails the right way.
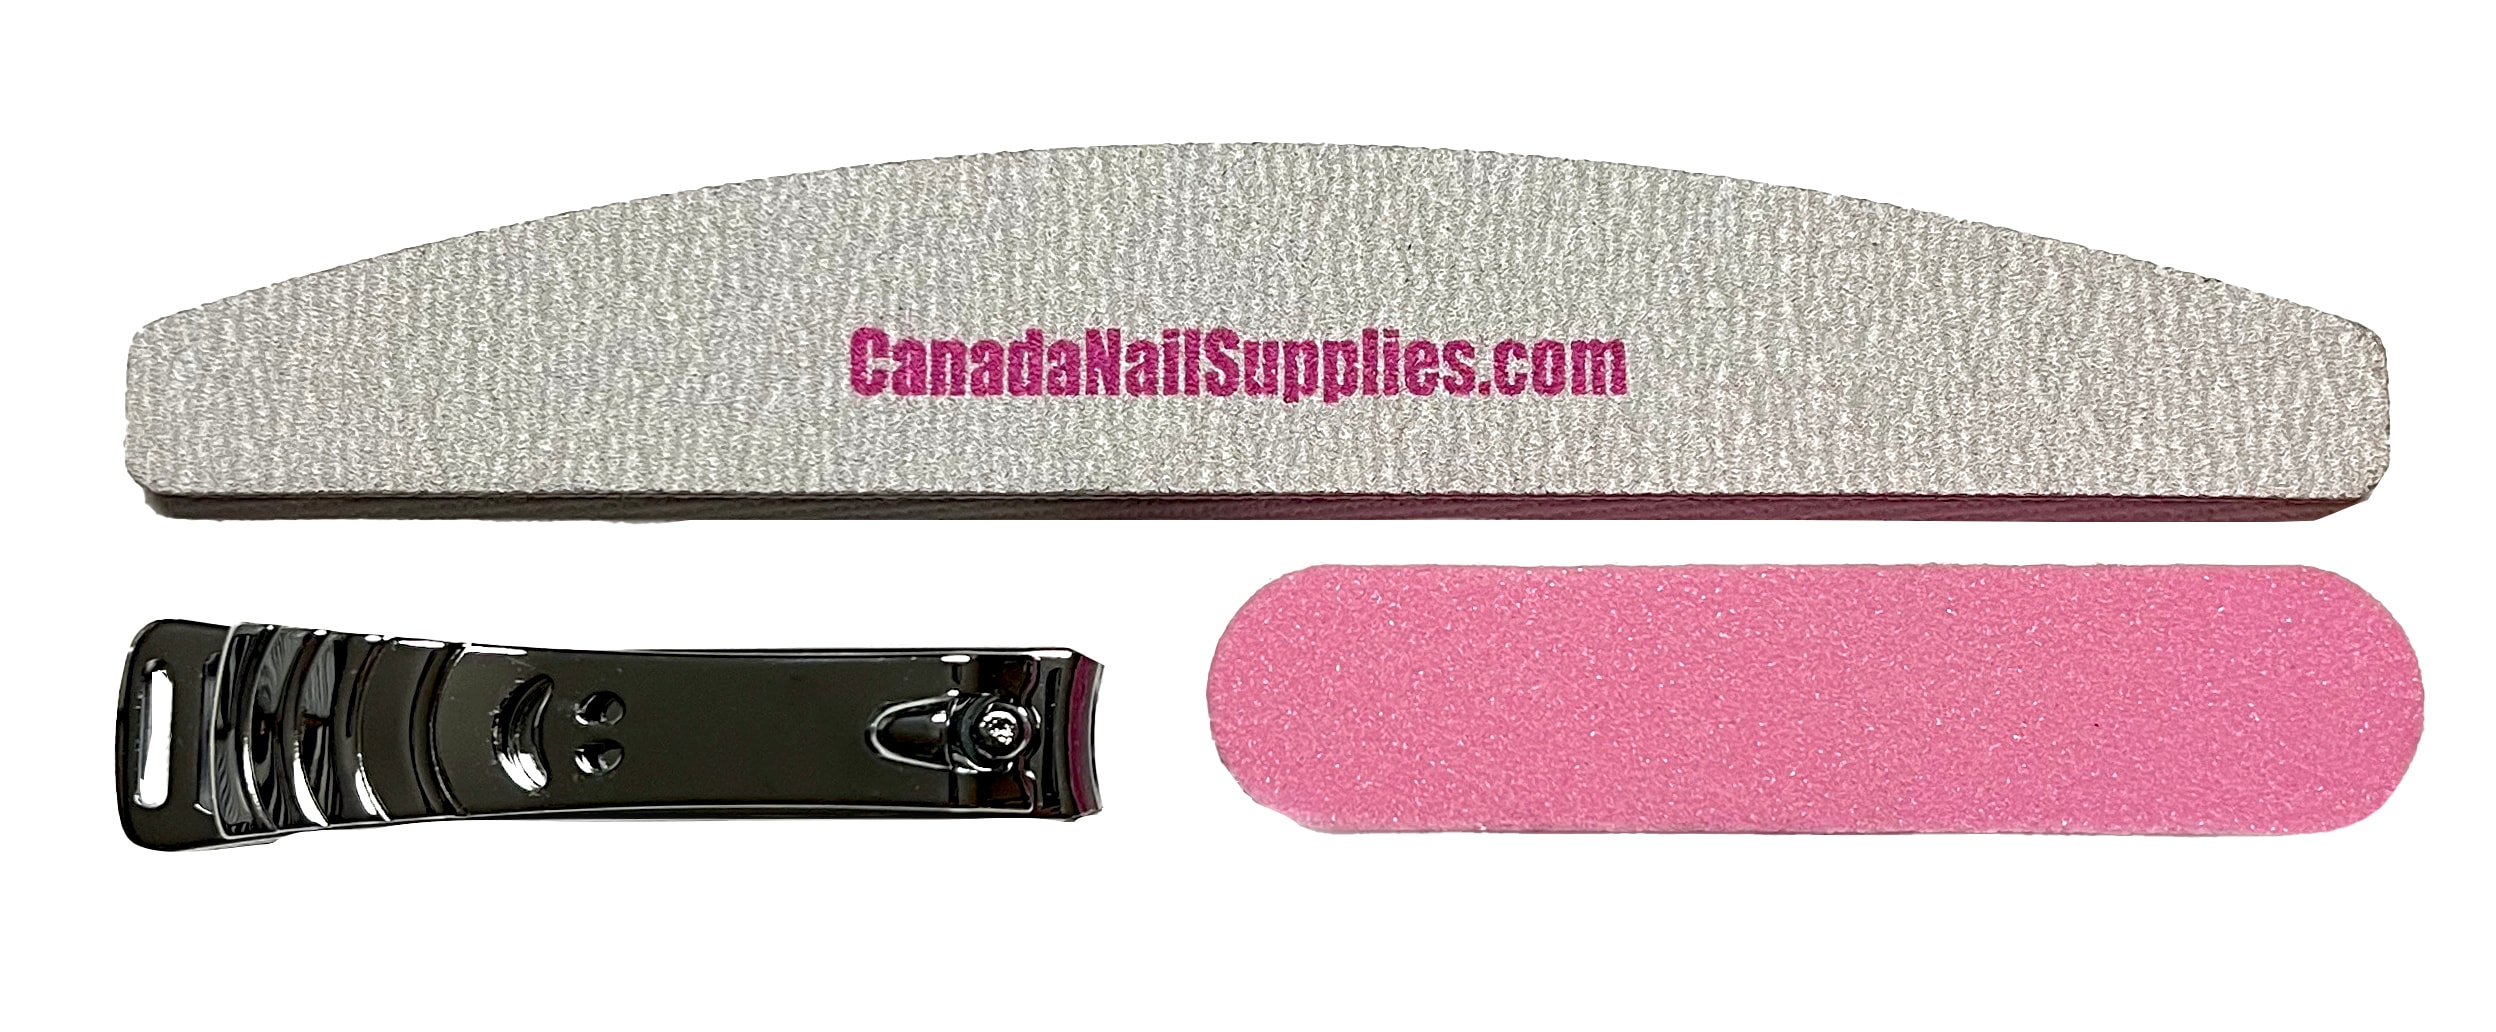
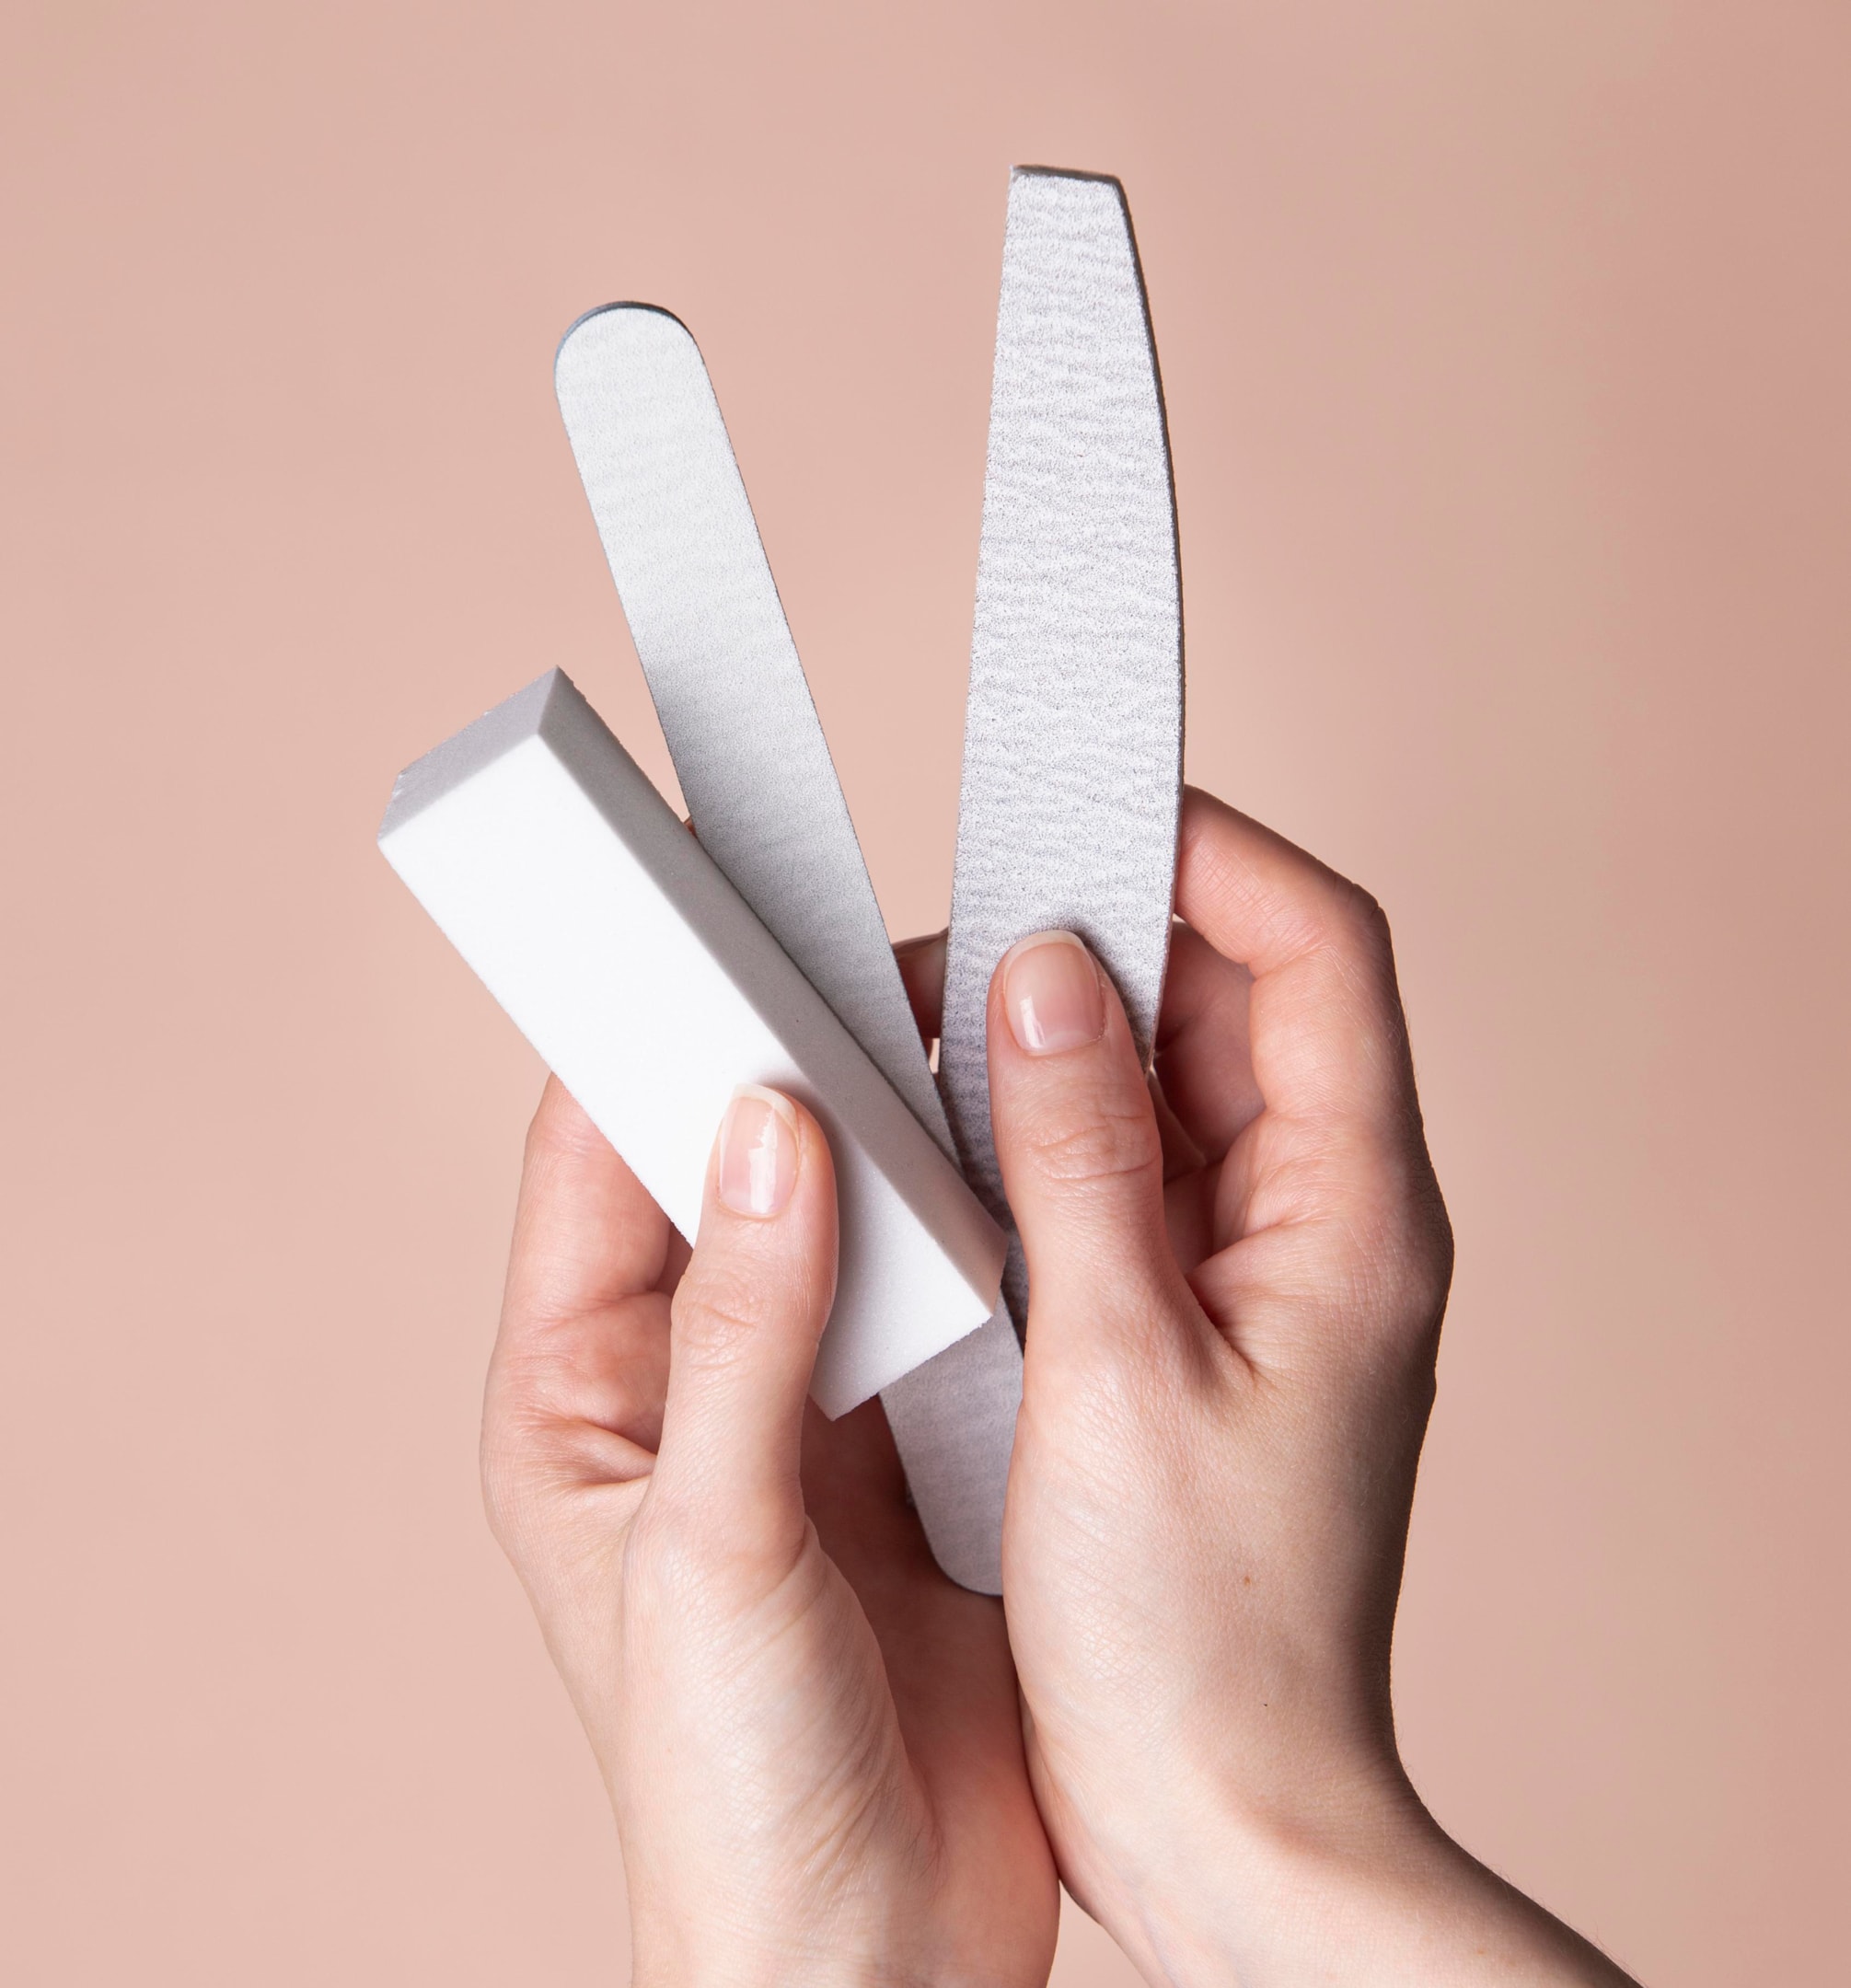
Here's what you need:
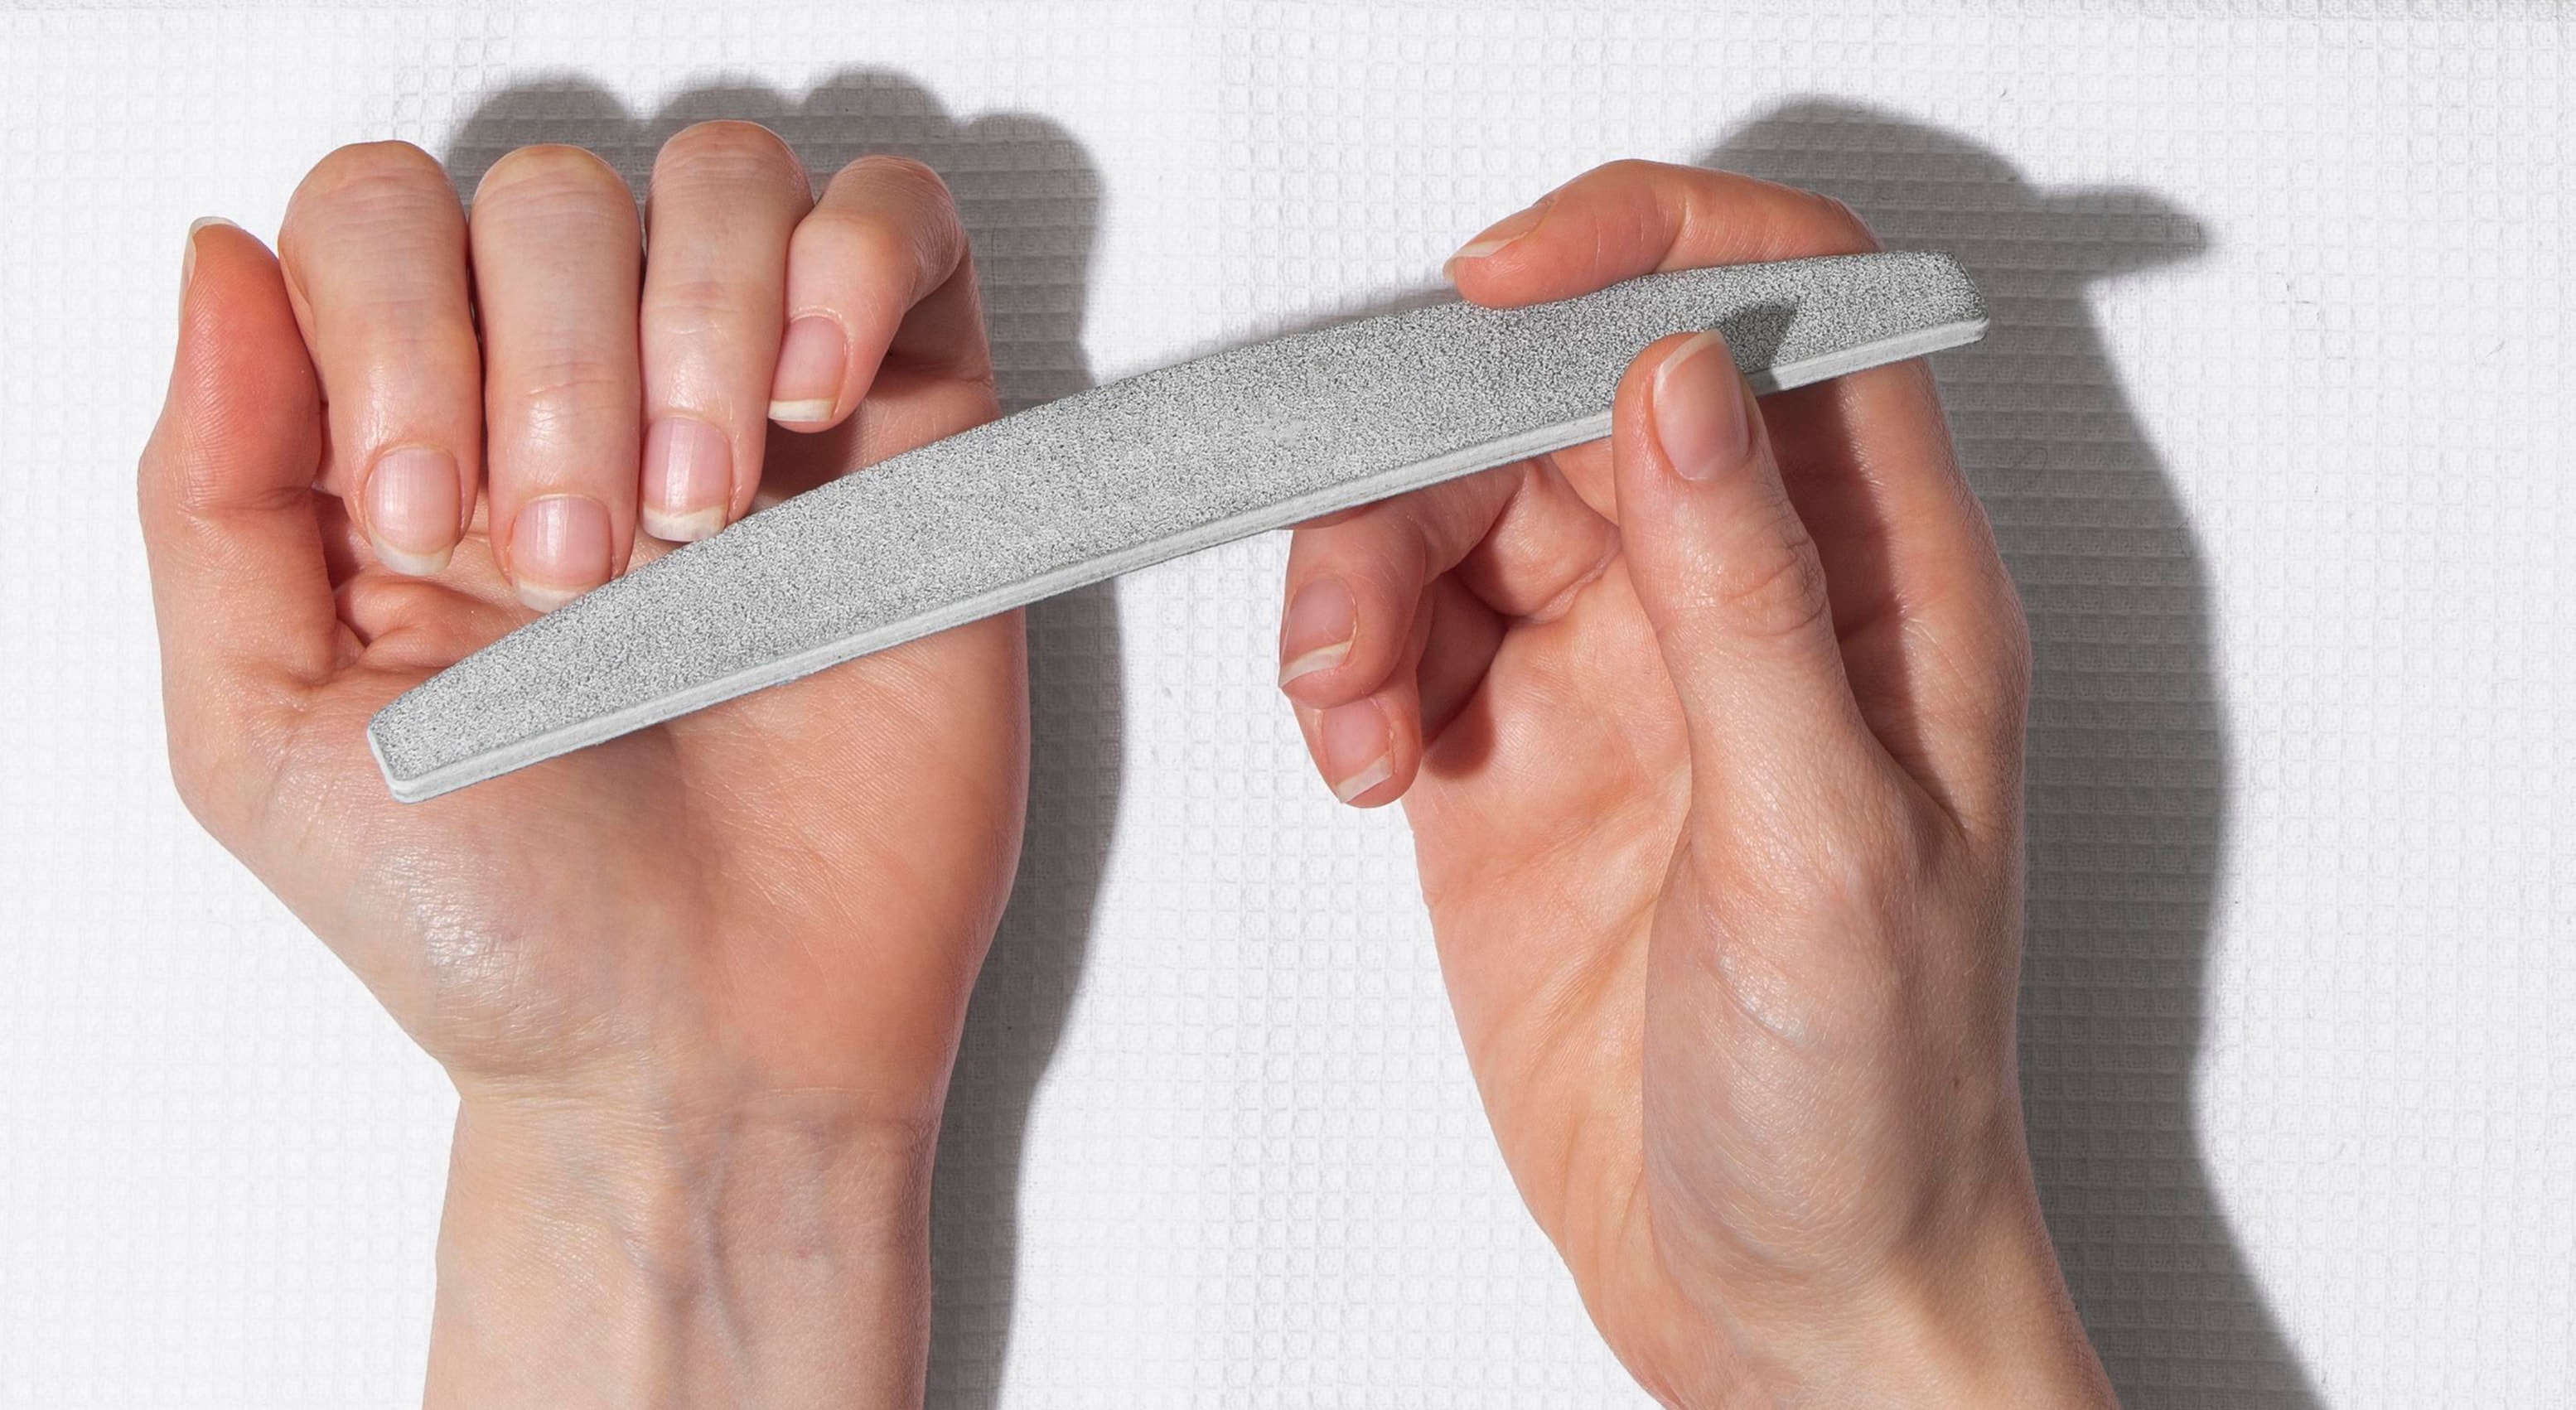
Nail File: Before you dive into filing, make sure you've got the right file. It’s super important to pick a file with the right grit. Grit numbers go from 100 to 600 to shape nails—the lower the number, the coarser the file. So, pick one that matches your nail’s needs. We recommend a 180 grit or 240 grit for the natural nail free edge.
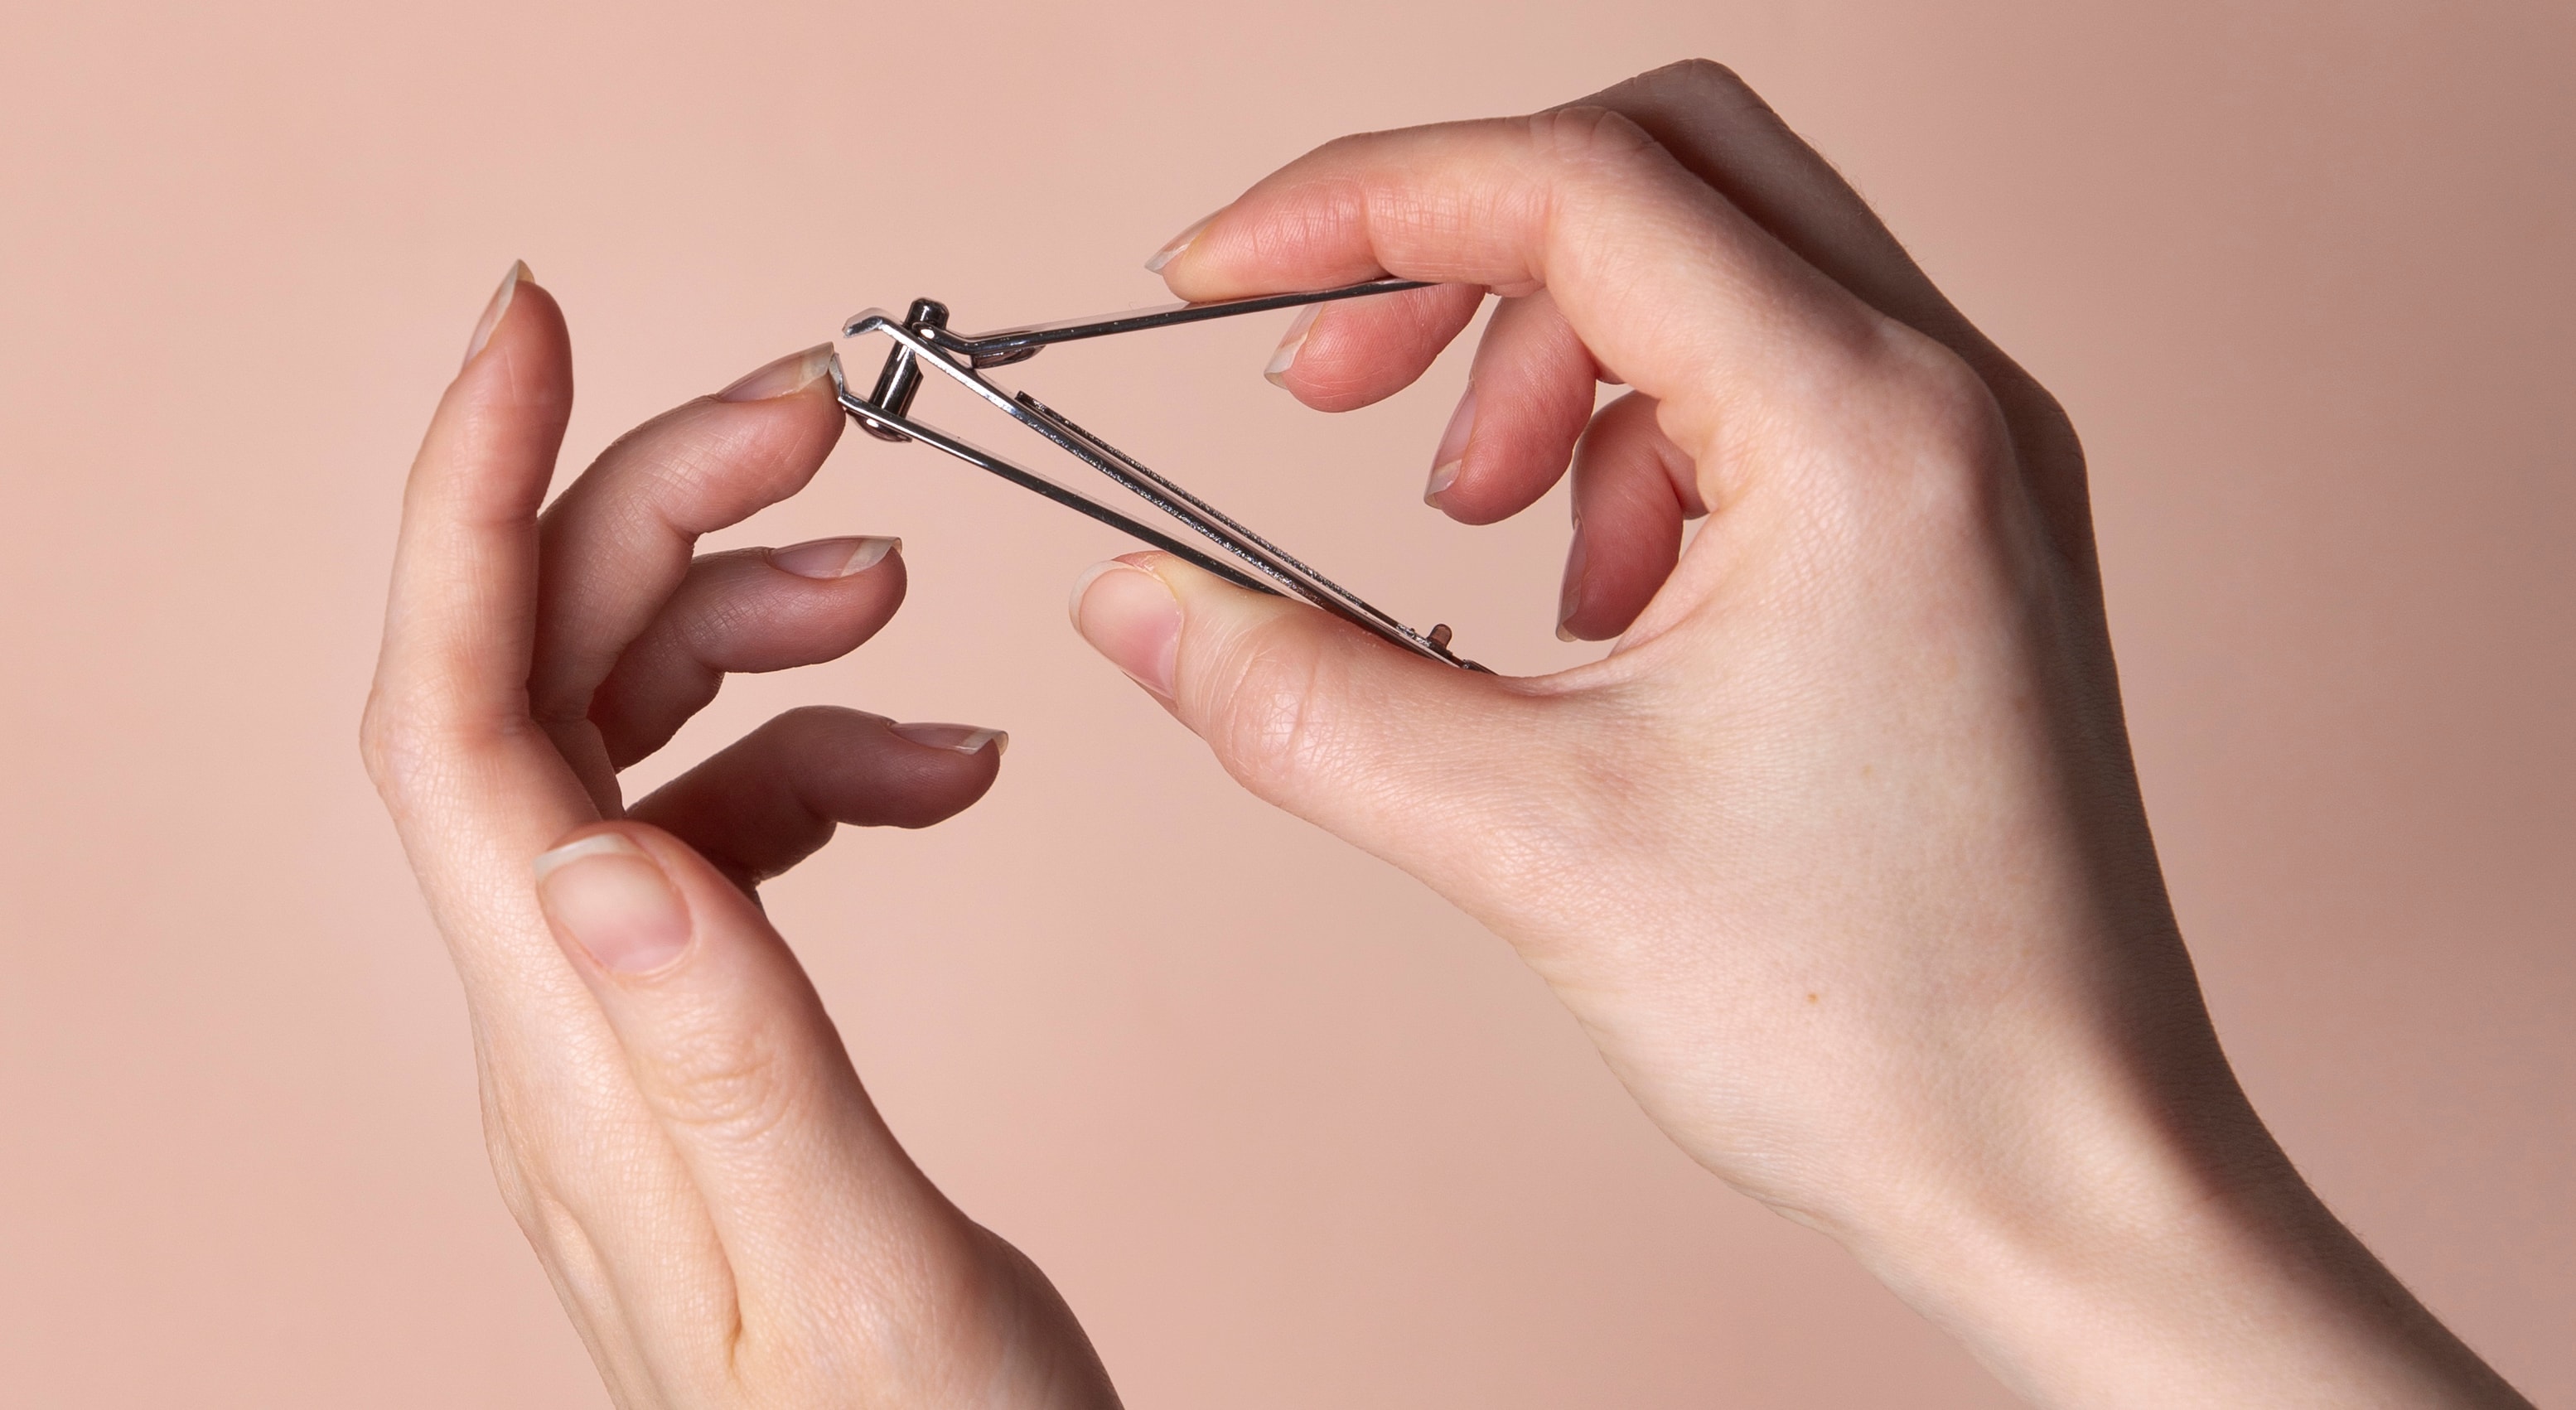
Nail Clippers: These are your go-to for snipping your nails down to a good length before you start shaping them with your file. Try not to use rounded clippers to prevent a more curved edge.
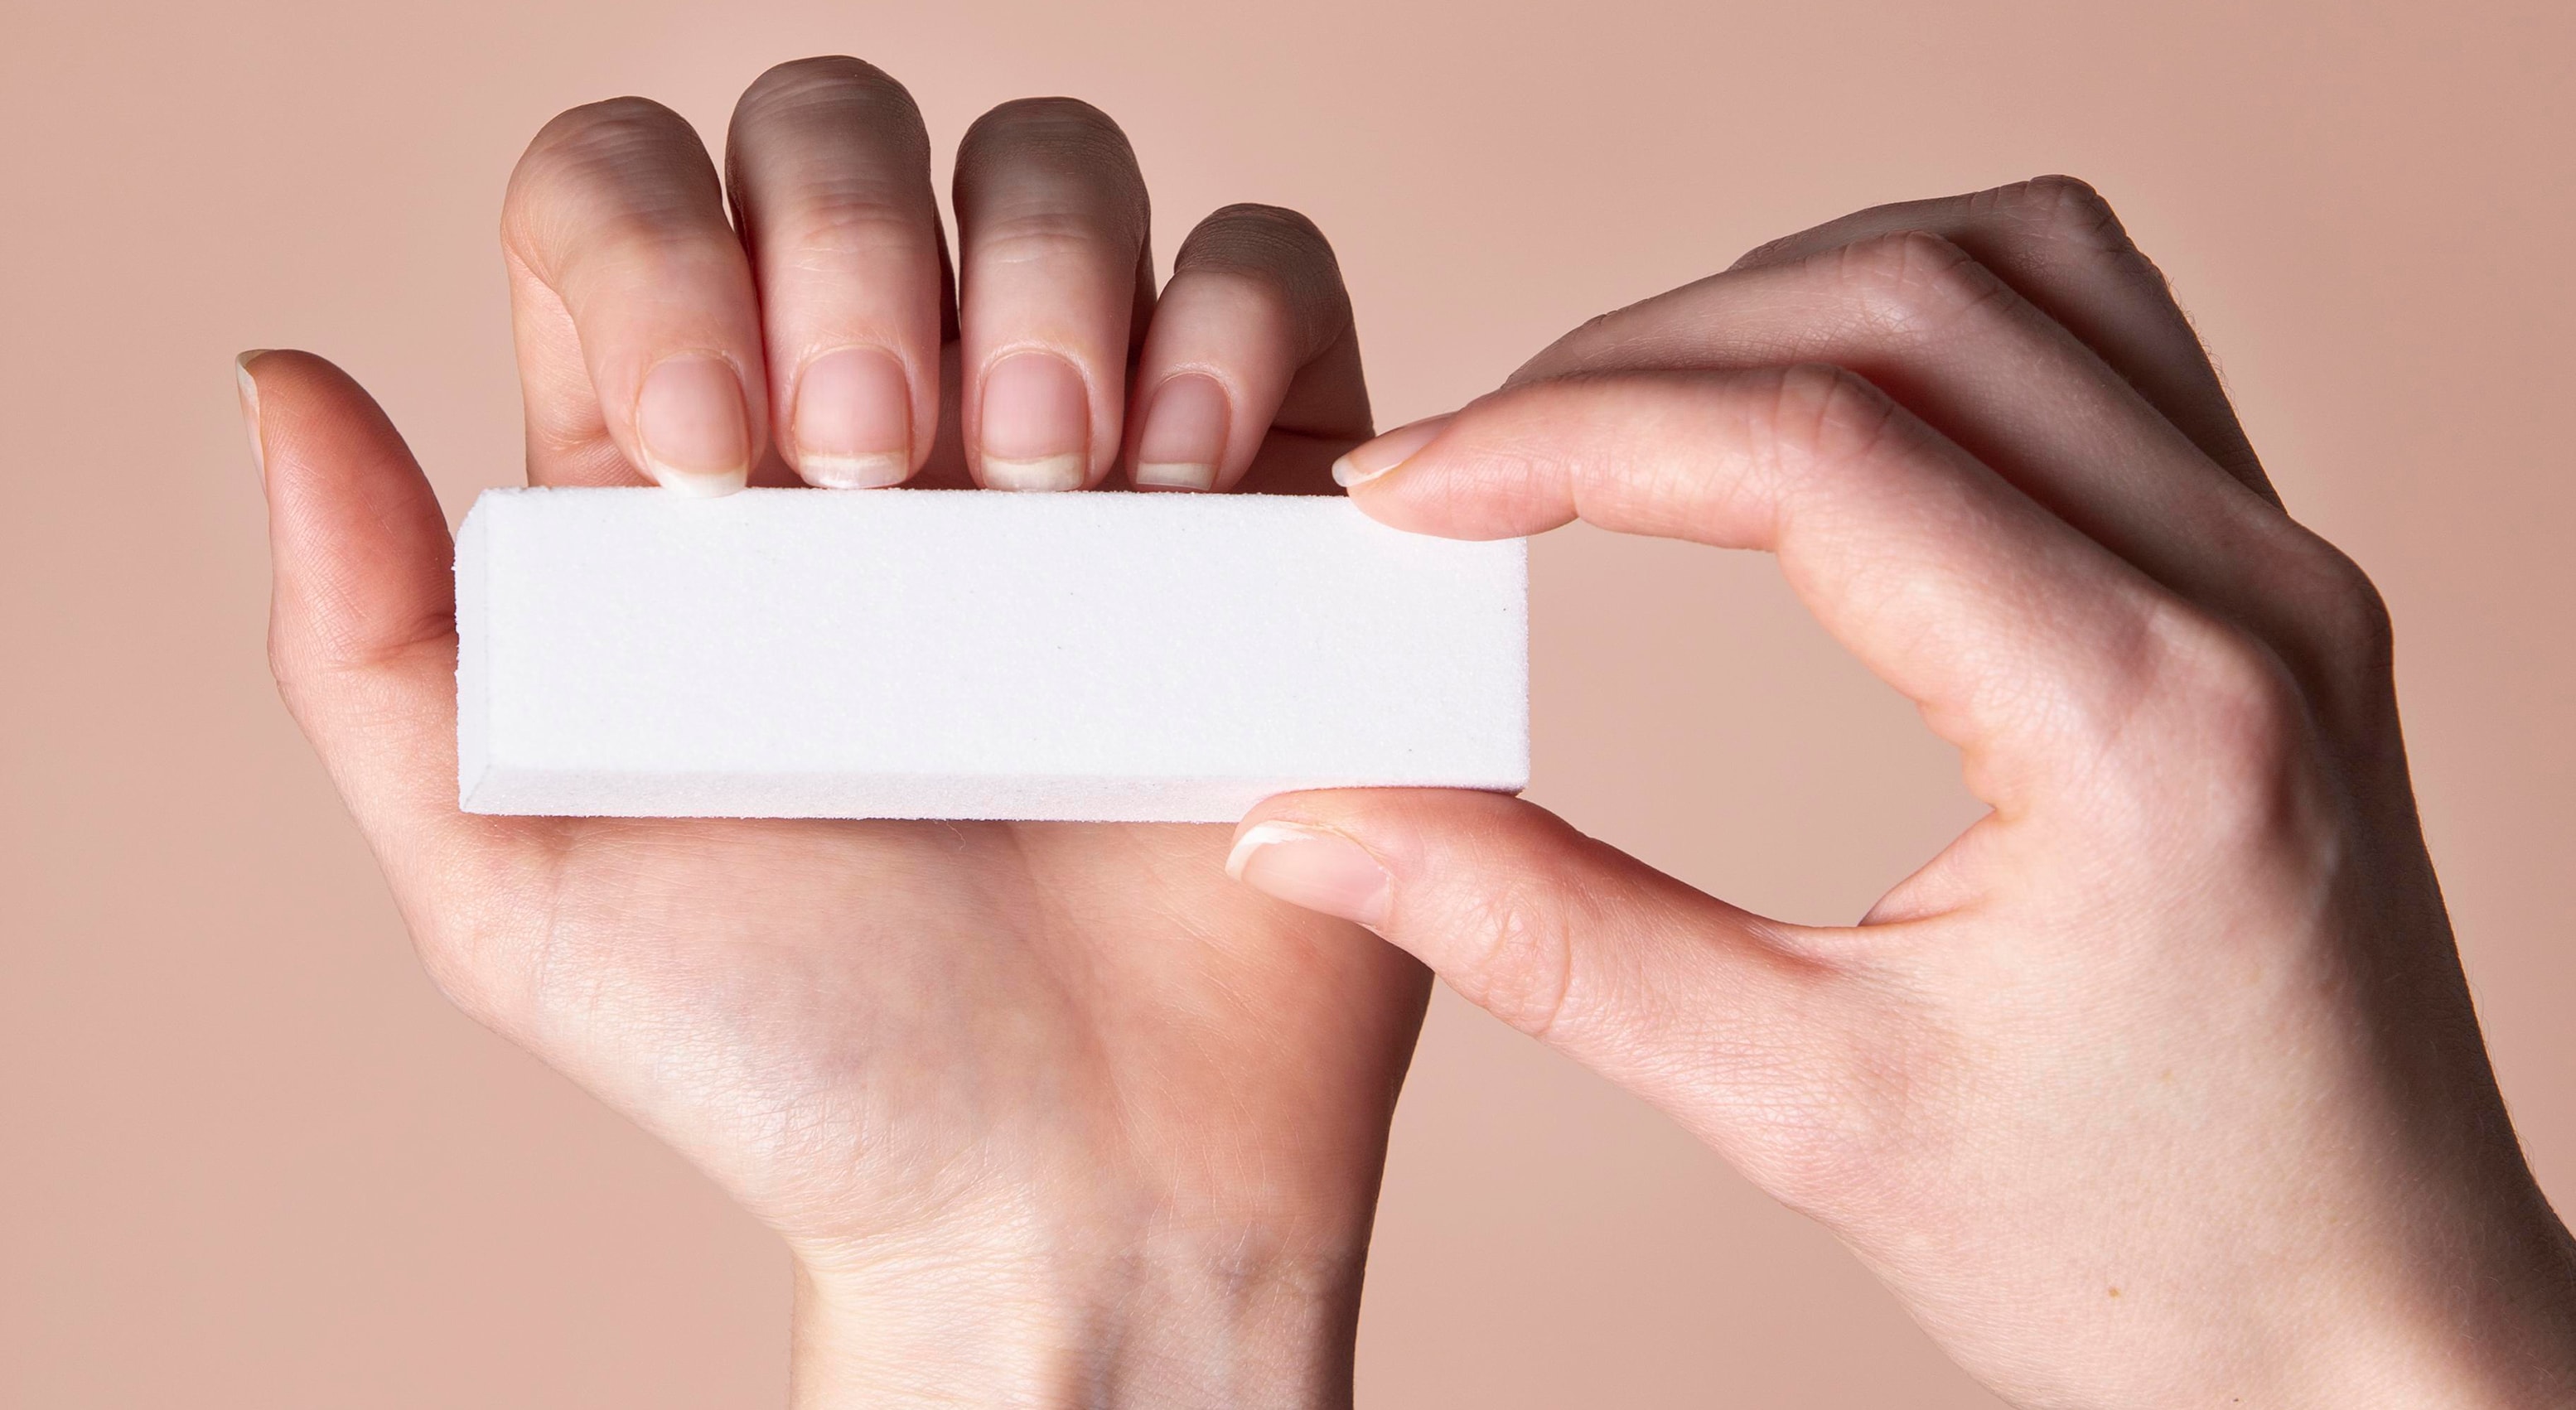
Nail Buffer: Once your nails are shaped, grabbing a quality nail buffer is key. Nail buffers range in grit from very fine to coarse, designed to smooth and shine your nails. You'll want one that suits your specific finishing needs, ensuring your nails get that glossy, salon-like finish.
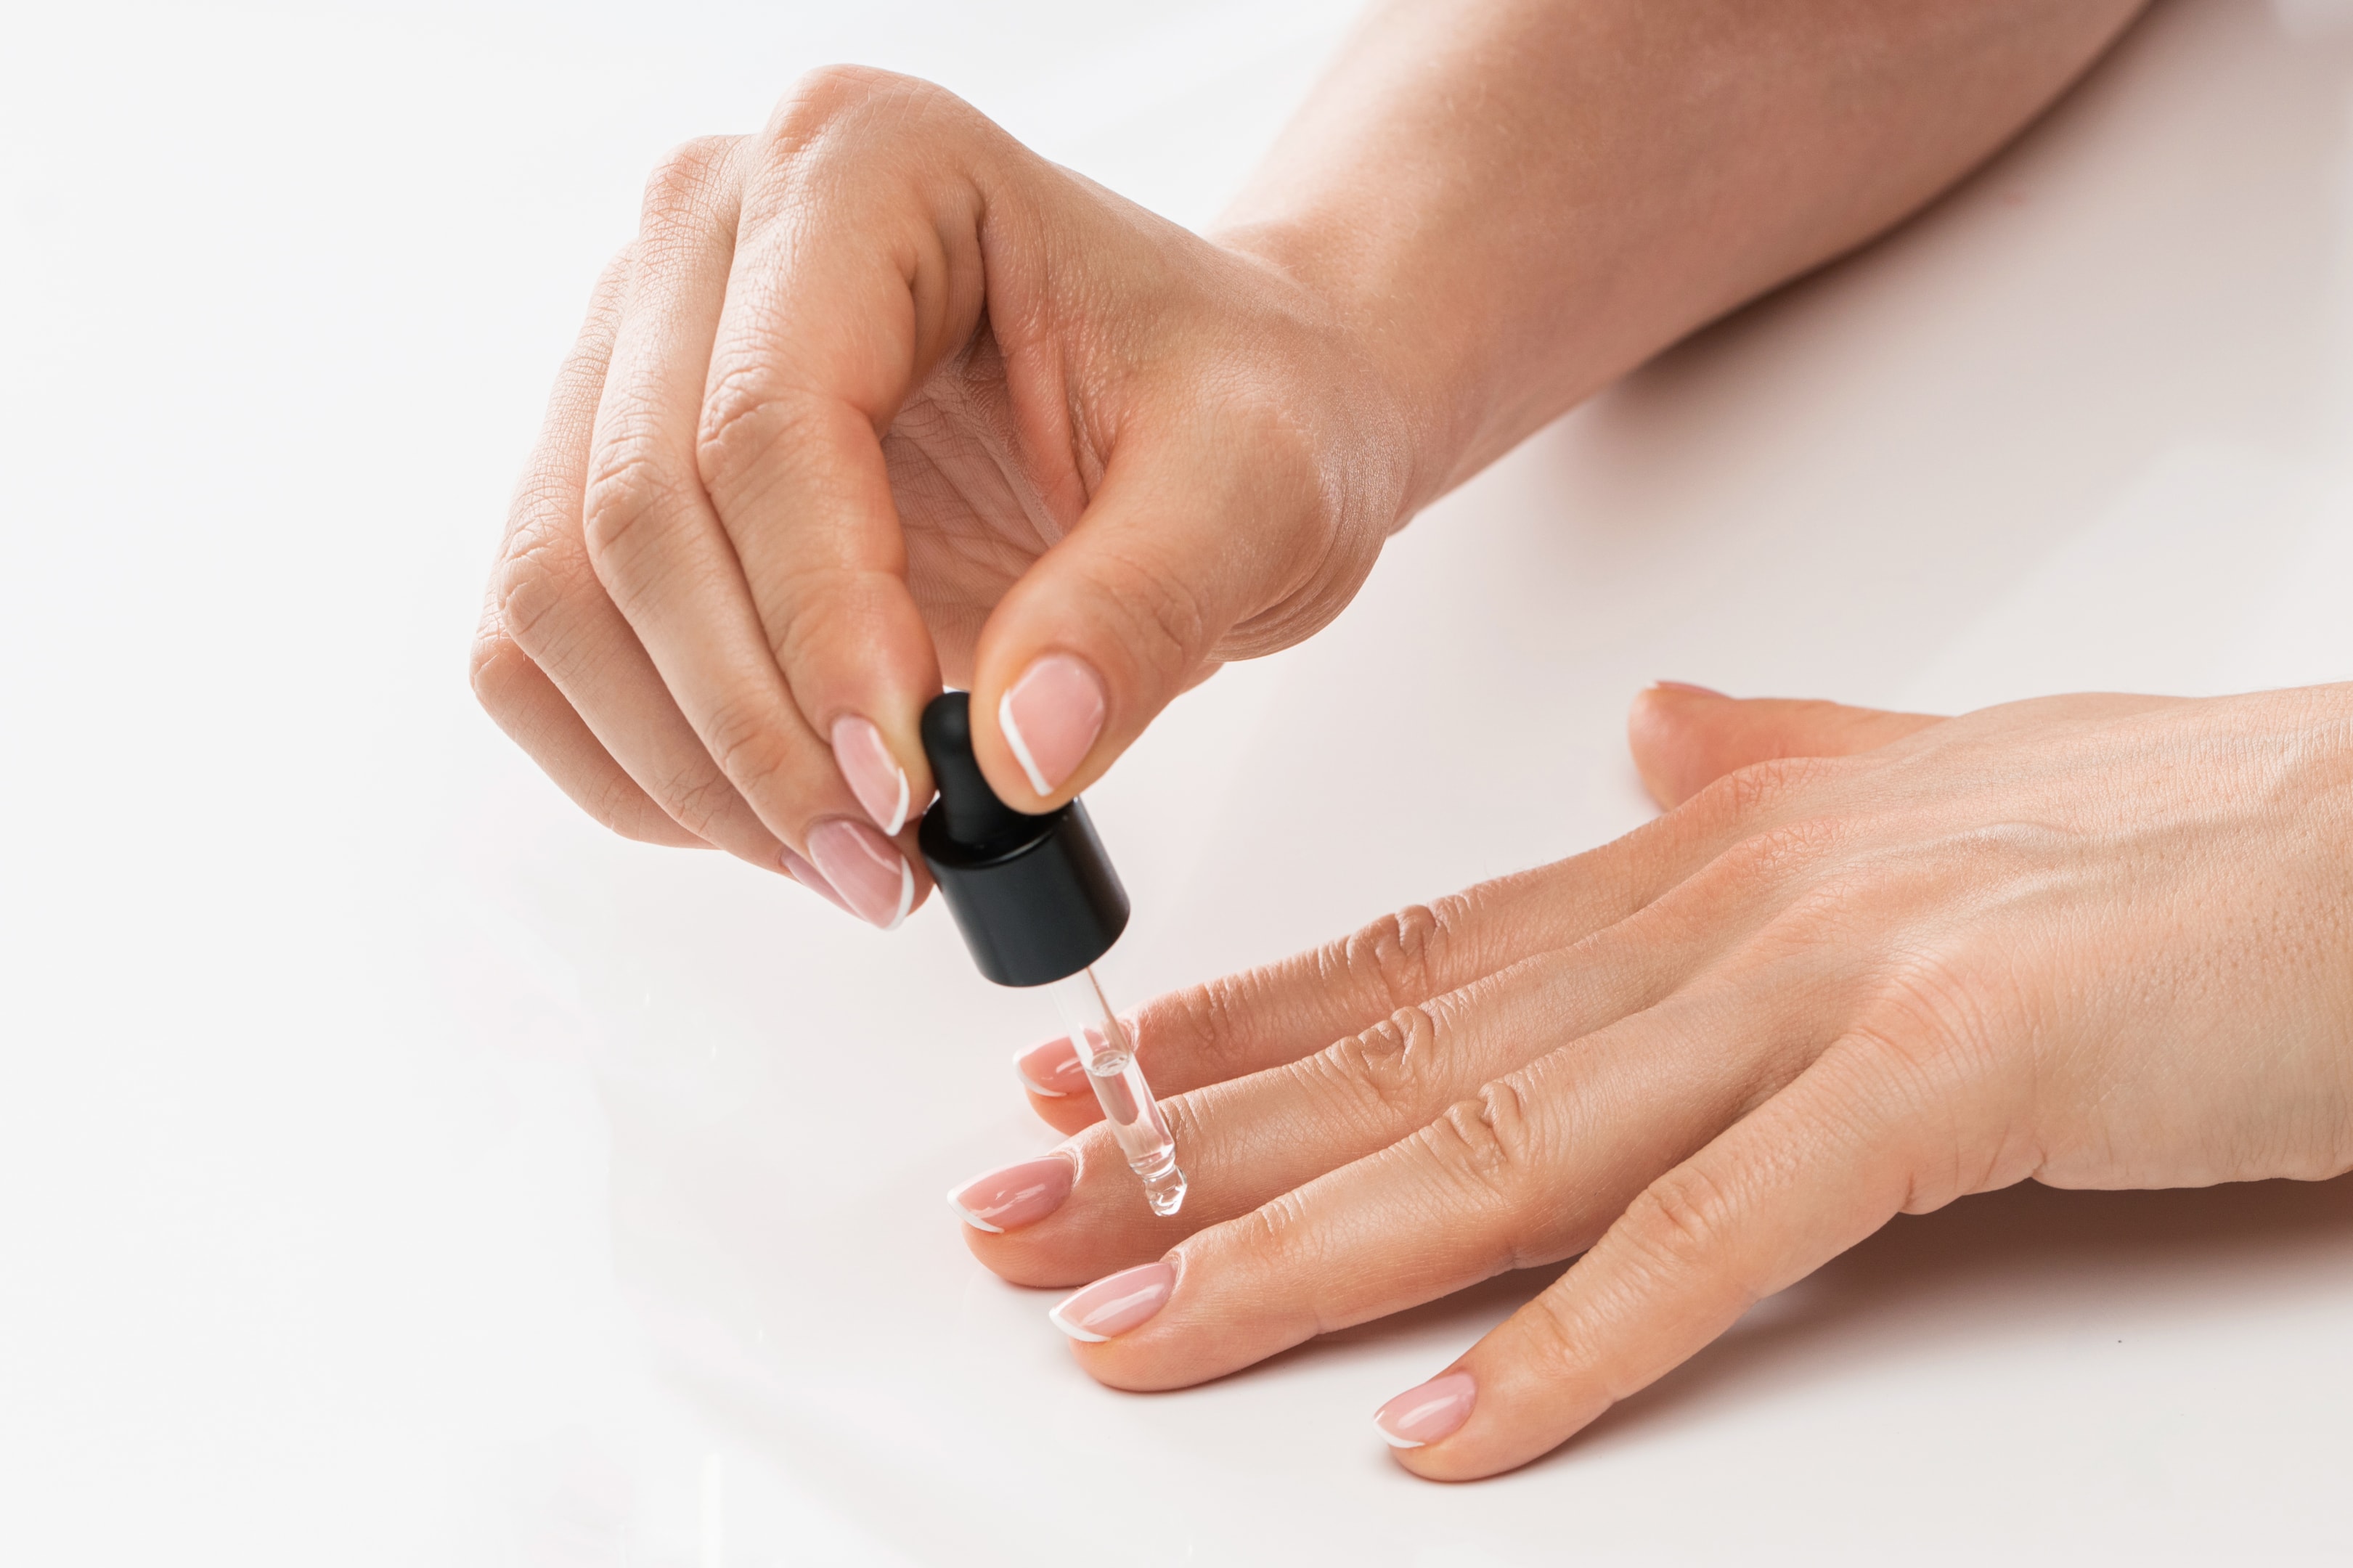
Cuticle Oil: Slap on some cuticle oil when you’re done. Why? It’s great for keeping your cuticles and nails hydrated, especially after you've been filing. This little step helps prevent snags and keeps your nails looking neat and healthy.
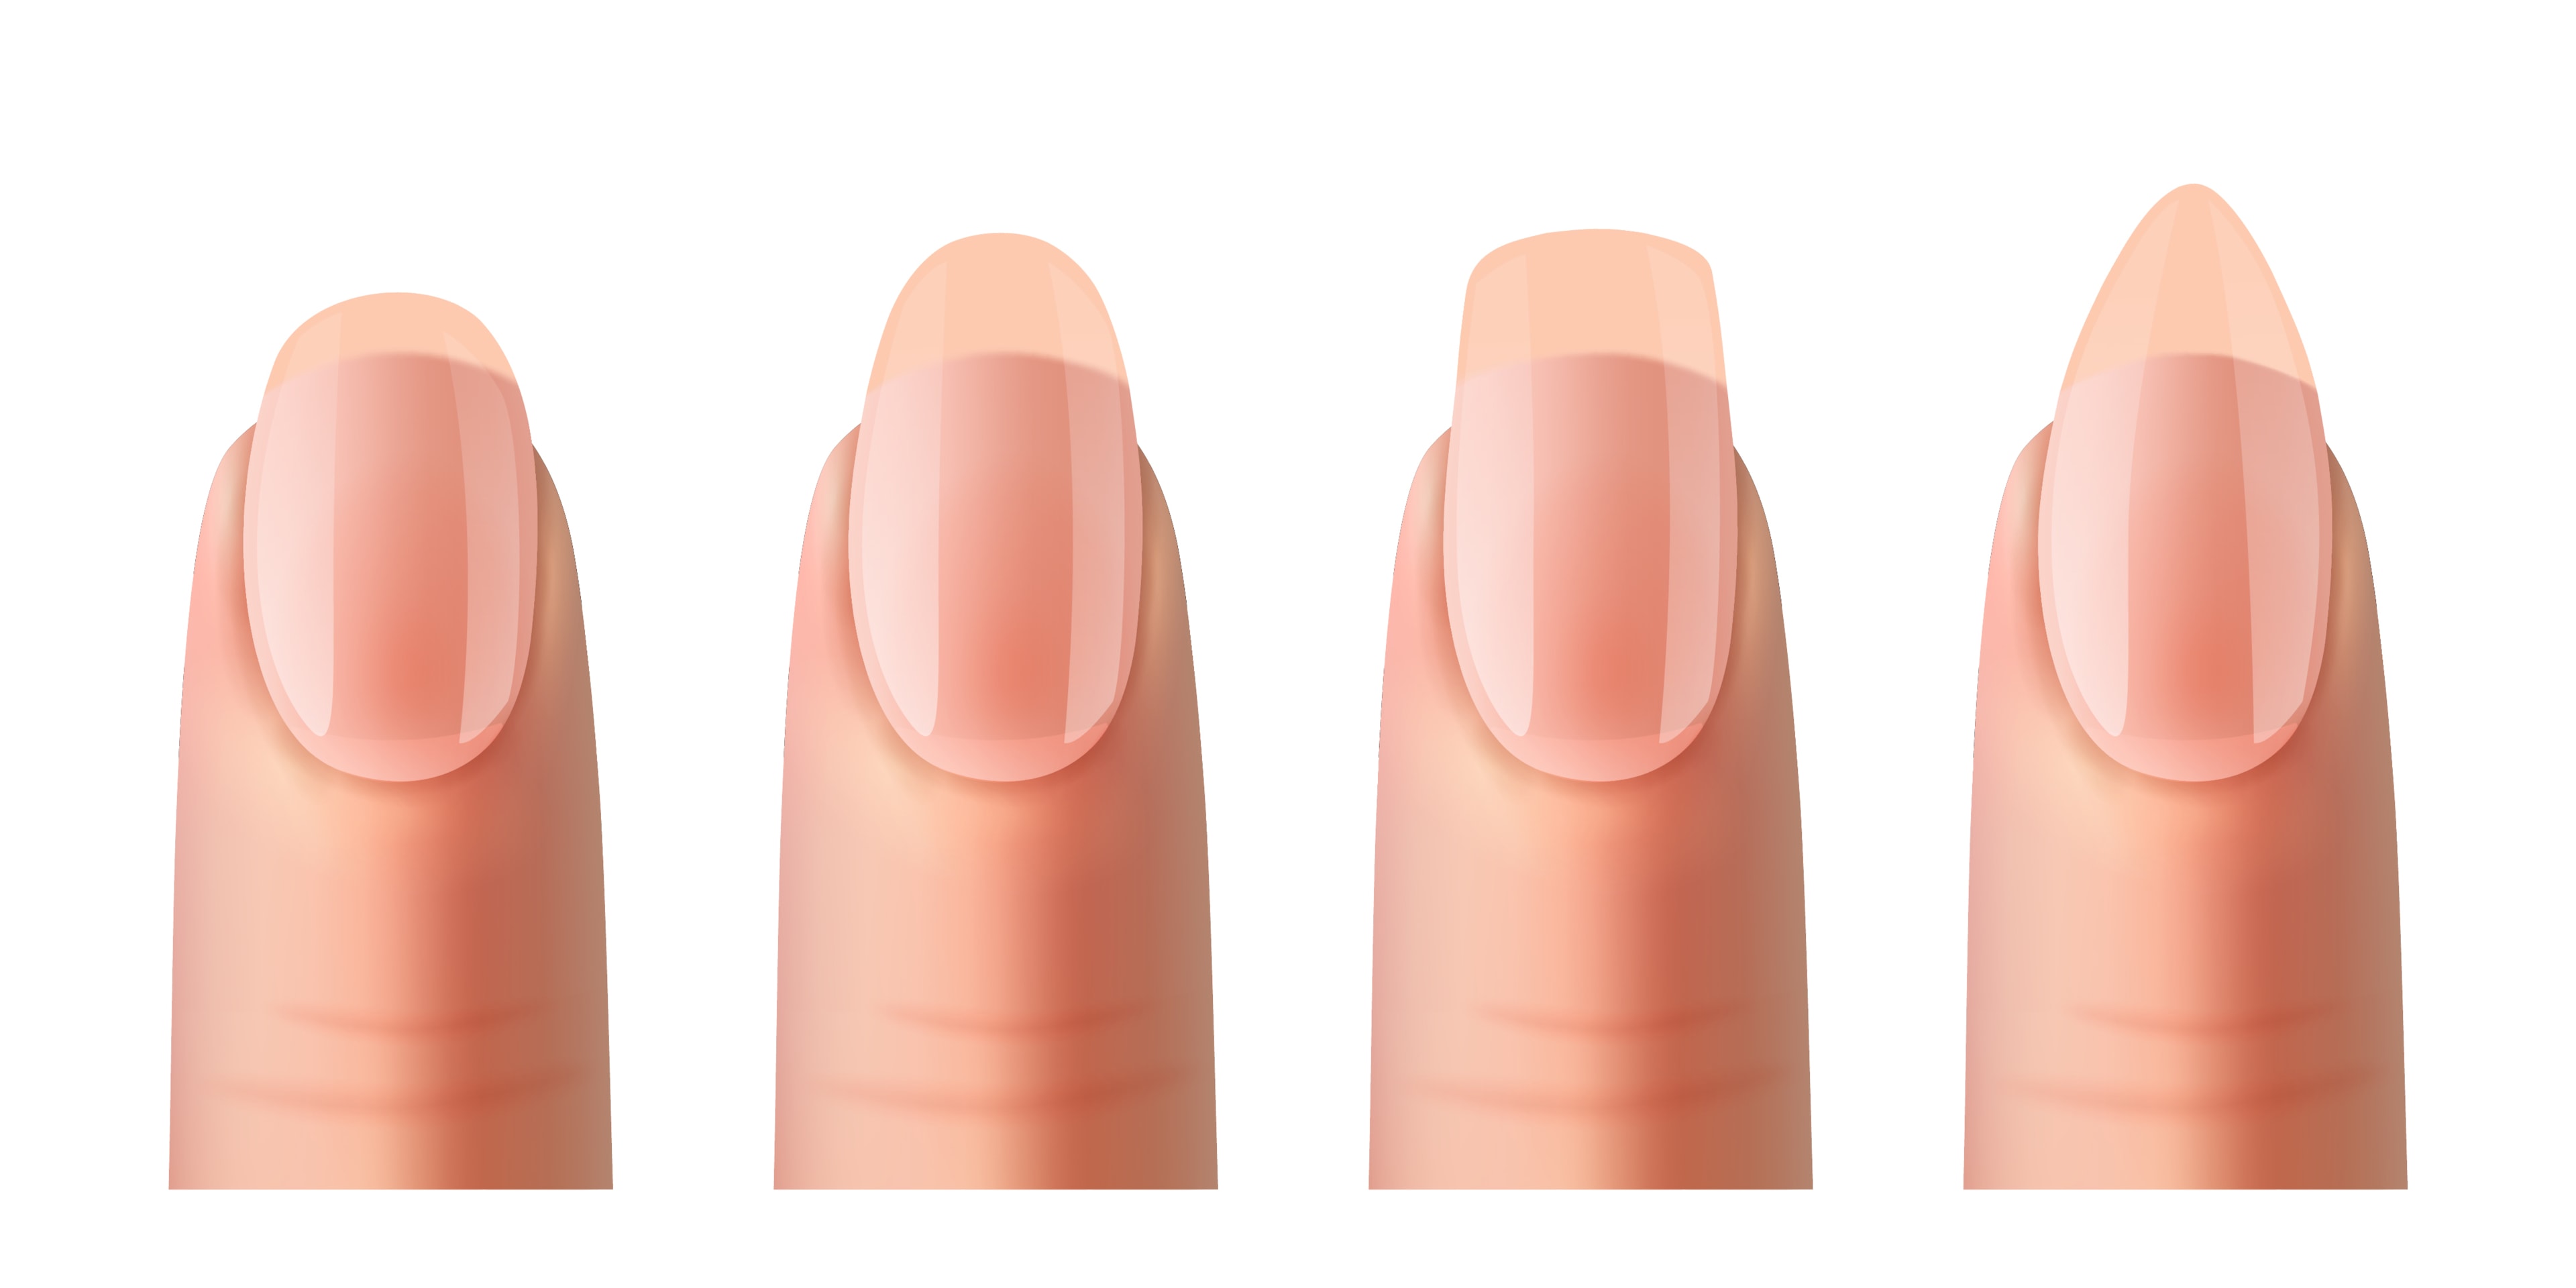
Shaping your nails is all about enhancing what you've got, not chopping off length (that's what clippers are for). With a nail file in hand, you've got a whole world of shapes to explore. If your nails are on the shorter side, you might want to stick with classic shapes like round or square. They're straightforward and suit short nails well.
But if you're rocking longer nails, you have the freedom to get a bit more adventurous. Consider almond, coffin, or oval shapes. These styles really shine on longer nails and can add a touch of sophistication to your look.
Now, if you're new to this whole nail shaping, it might be best to start with what nature gave you. Take a good look at your natural nail shape—this means observing where your nail bed ends and where the free edge starts. If your nails naturally go straight across, a soft square might be the way to go. This shape is easy to maintain and looks neat and tidy on most hands.
However, if your nail beds are more curved, diving deeper into the sidewalls, then rounding them out into an oval or keeping them gently rounded might be your best bet. These shapes flow with the natural curvature of your nails, making them easier to maintain and less prone to breaking.
Remember, choosing a nail shape should be fun and reflect your personal style. So, experiment a bit and see what shape makes you feel fabulous.
Got long nails? First up, grab those clippers. Trimming down the excess length with clippers before you start filing gives you a basic shape and makes the whole process easier. Just a heads up—trying to shorten your nails using only a file is a big NO-NO.
Step 1: Begin at the Edges
When you're new to this, it's easy to go overboard with the filing. To keep that in check, start at the nail's edge. Avoid that tempting back-and-forth sawing action—it's way too harsh. Instead, imagine someone else is doing the filing for you. This nifty trick helps you hold your hand just right, keeping the tips of your nails pointing towards you for better precision.
Step 2: Work Your Way In
Think of your nail as split into two parts. File the left side first, then switch to the right. This helps you shape your nail symmetrically and avoids uneven edges. Remember, filing too much on the sides can weaken your nails, leading to breakage. And keep that file flat against the nail surface. If you start angling it, you could end up thinning out the nail tips more than you’d like.
Step 3: Check and Refine the Edges
Once you’ve got the basic shape down, flip your hand around and take a look at your nails from different angles. This will help you spot any uneven edges or rough spots. If your nail feels a bit rugged, grab a nail buffer. Using a fine grit (280 or 500 grit) buffer can really smooth things out and prepare your nails for those finishing touches.
Step 4: Optional: Create a high shine natural nail surface
For that perfect natural nail shine you can buff your nails to a shine using a 3 way buffer or 4 way buffer, starting with the coarse side of the buffer, smooth out any small ridges or imperfections by gently buffing each nail, then continue to repeat this step with the medium grit over each nail, then lastly buff with the smooth surface until each nail achieves the desired level of shine to create a glossy natural nail.
Well, you should always avoid filing your nails when they're wet. It's because nails tend to absorb water, which makes them weaker and more vulnerable to damage. This increased fragility can lead to breakage when filing. To preserve the strength and integrity of your nails, it's safest and most effective to file them when they are completely dry.
Do you have questions about which nail file to choose, or maybe you're wondering which products strengthen your nails? If you have these or any other questions, don't hesitate to contact us, and we'll guide you thoroughly through all your nail care queries.


